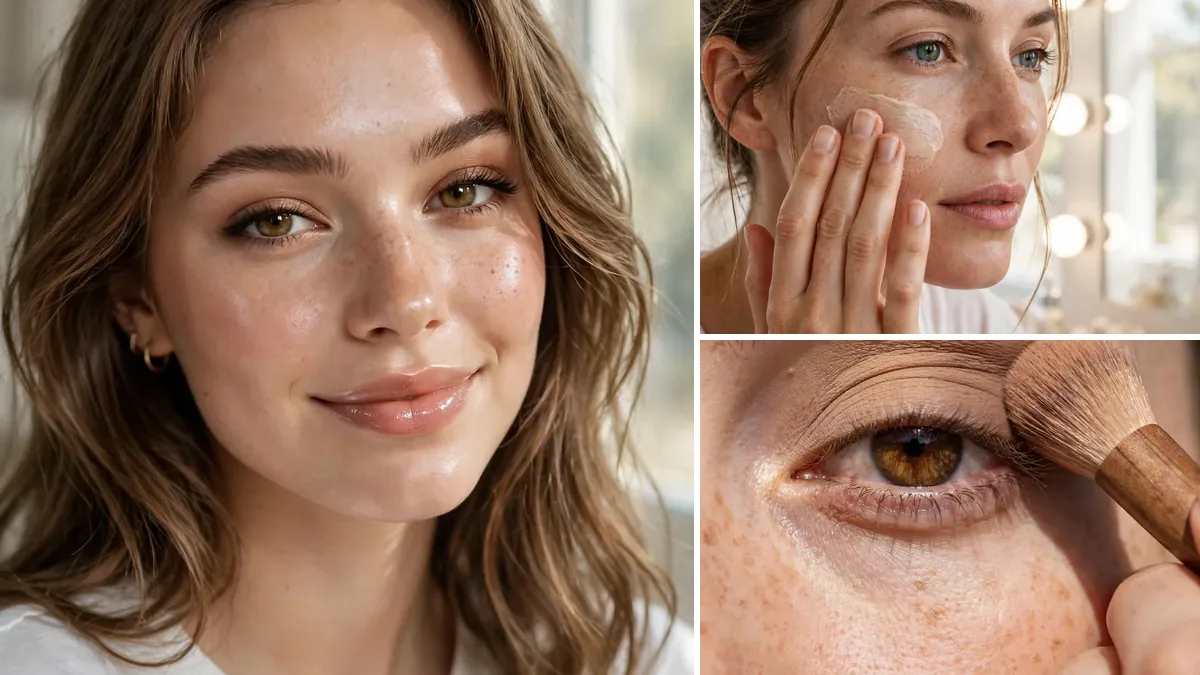
Natural glam is the makeup sweet spot: polished enough for photos and evenings out, but soft enough that it still looks like you. Think glowing skin, defined but gentle eyes, fluffy brows, and glossy lips. Nothing harsh, nothing heavy, nothing that screams makeup.
The good news is that this natural glam makeup tutorial needs no professional skills and no expensive kit. If you can moisturize your face and blend with your fingers, you already know enough to start. Each of the eight steps below builds on the last, and you can stop at any point and still look finished.
For more beginner friendly routines, explore our beauty guides for simple looks that work for every skill level. Now grab your products and a mirror near a window, because this natural glam makeup tutorial starts with the step most beginners skip.
This post contains affiliate links. As an Amazon Associate, Pretty Chapter earns from qualifying purchases.
Natural Glam Makeup Tutorial: Quick Tips Before You Start
Work in natural light whenever you can
Sit facing a window. Bathroom lighting hides mistakes that daylight will reveal, especially with foundation and blush.
Cream before powder, always
Layer cream products first, then set lightly with powder only where needed. This order is the secret behind every natural glam makeup tutorial that actually looks natural.
Blend, then blend again
Harsh lines are the enemy of natural glam. When you think you are done blending, give it thirty more seconds.
Less product than you think
Start with half the amount you would normally use. You can always add more, but removing excess makeup is much harder.
Step 1: Prep Your Skin with Moisturizer and Primer
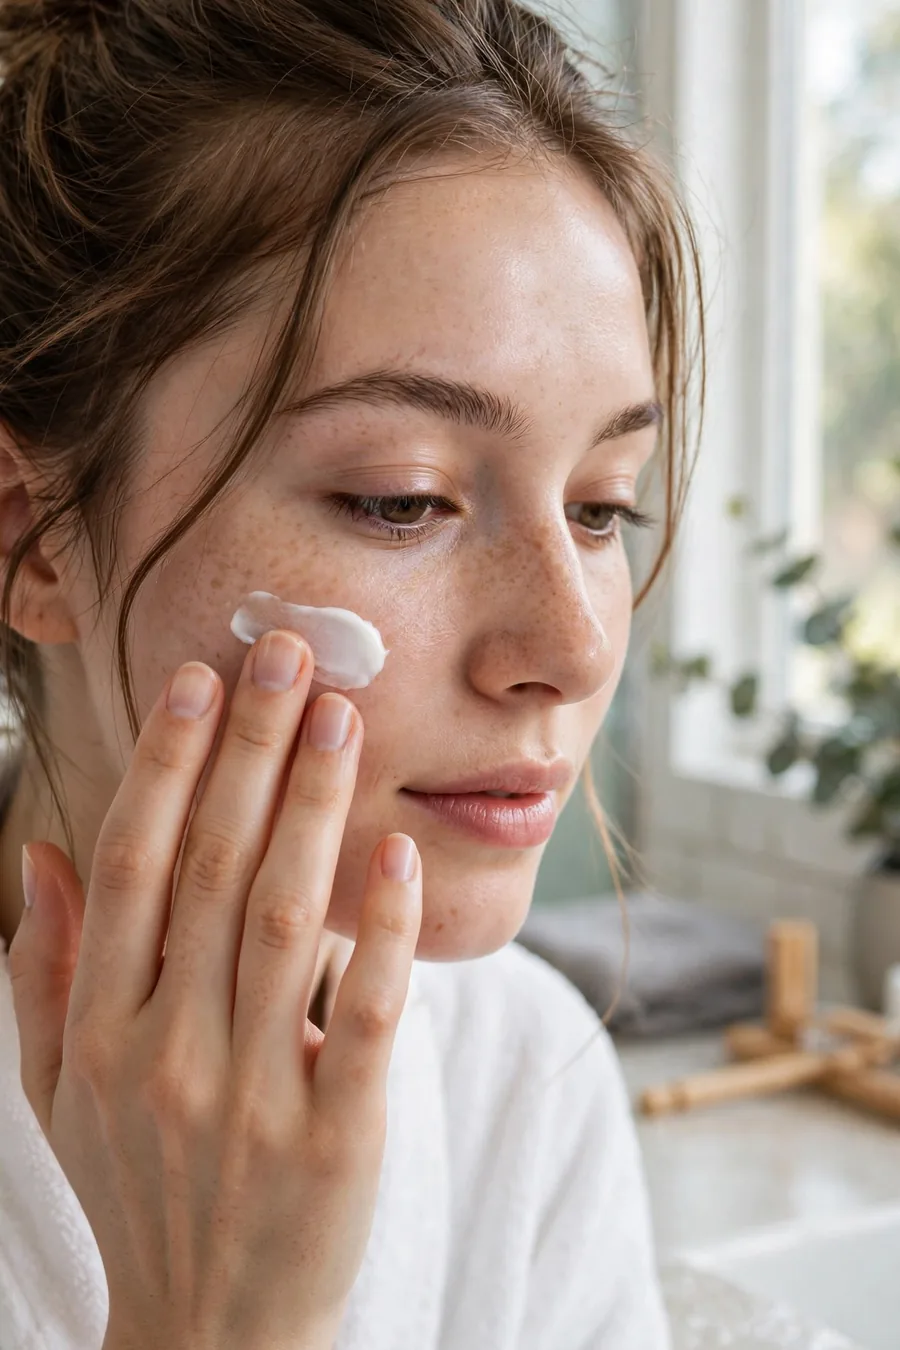
Every great makeup look starts before any makeup touches your face. On clean skin, massage in a lightweight moisturizer and let it sink in for two minutes. Follow with a thin layer of hydrating primer on the areas where makeup tends to fade, usually the nose, chin, and around the mouth. This natural glam makeup tutorial insists on prep because it is what makes everything else look smooth instead of sitting on top of dry skin.
Why it works: Hydrated skin grips makeup evenly. Skipping prep is the number one reason beginner makeup looks patchy by noon.
Pro tip: If you have five extra minutes, press a cool damp washcloth on your face before moisturizer. It calms redness and tightens the look of pores.
SHOP THE LOOK: lightweight moisturizer, hydrating primer, gentle cleanser
Step 2: Even Out Skin with a Tinted Moisturizer
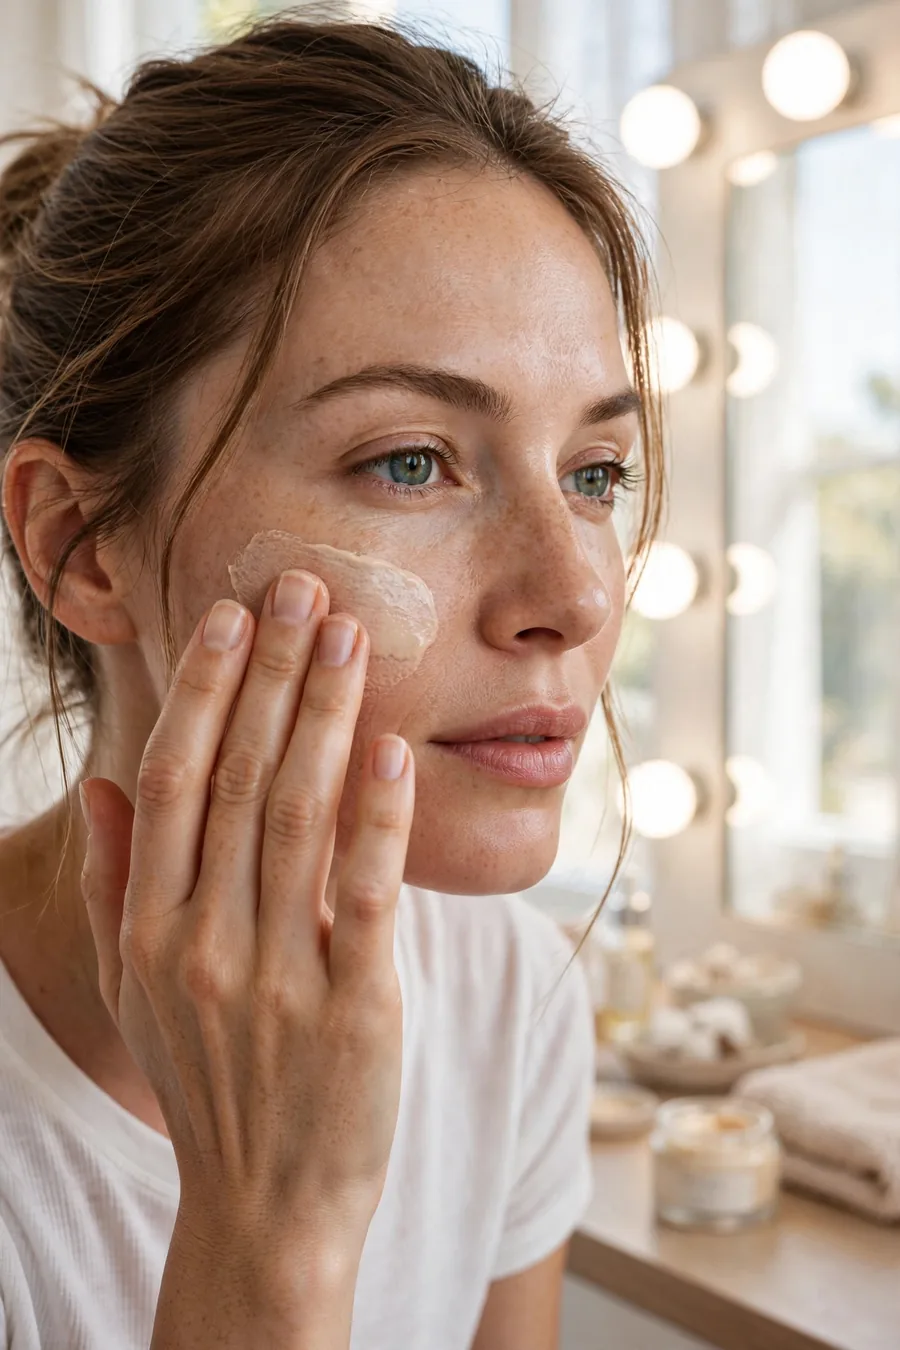
Skip the heavy foundation. Squeeze a pea sized amount of tinted moisturizer onto the back of your hand, dot it on your forehead, cheeks, nose, and chin, then blend outward with your fingers. The warmth of your fingers melts it in better than any brush. Build a second thin layer only where you need more coverage. This step of the natural glam makeup tutorial gives you even tone while letting your real skin show through.
Why it works: Sheer coverage looks like skin, not makeup. That is the entire definition of natural glam.
Pro tip: Match your tint to your jawline, not your hand. Your hand is usually a different shade than your face.
SHOP THE LOOK: tinted moisturizer with SPF, damp beauty sponge, setting spray
Step 3: Conceal and Brighten Under the Eyes
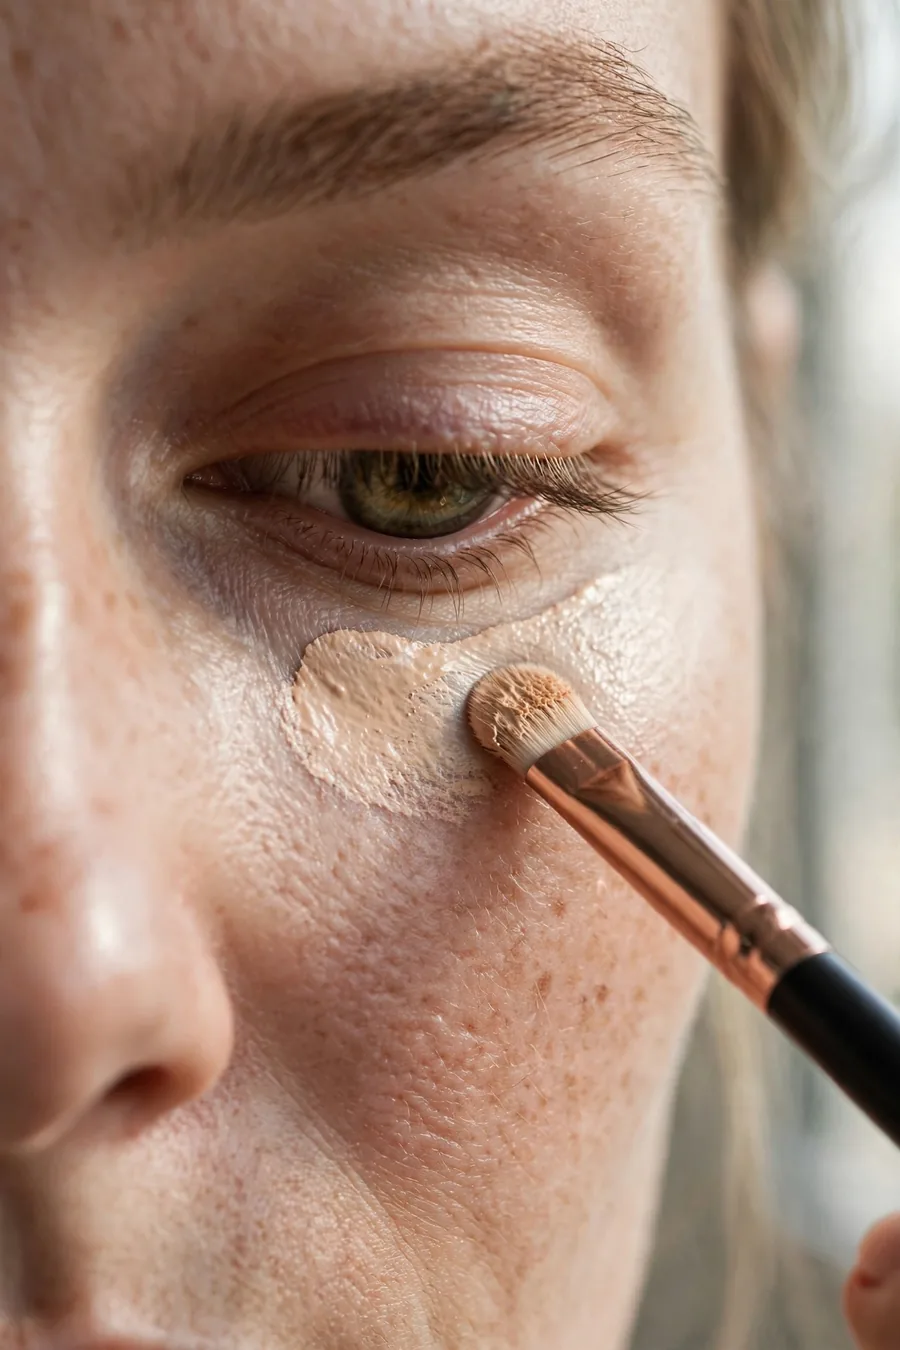
Draw two small triangles of creamy concealer under each eye, one shade lighter than your skin, and one dot on any blemish or redness around the nose. Pat it in with your ring finger or a small brush, pressing instead of dragging. This targeted brightening is what makes you look rested, and it is a core step in any natural glam makeup tutorial worth following.
Why it works: Strategic concealer does more than full coverage foundation ever could. You fix only what needs fixing and leave the rest of your skin alone.
Pro tip: Set the under eye area with the tiniest tap of translucent powder using a fluffy brush. Too much powder here causes creasing.
SHOP THE LOOK: creamy concealer, small concealer brush, translucent powder
Step 4: Warm Up Your Face with Cream Blush
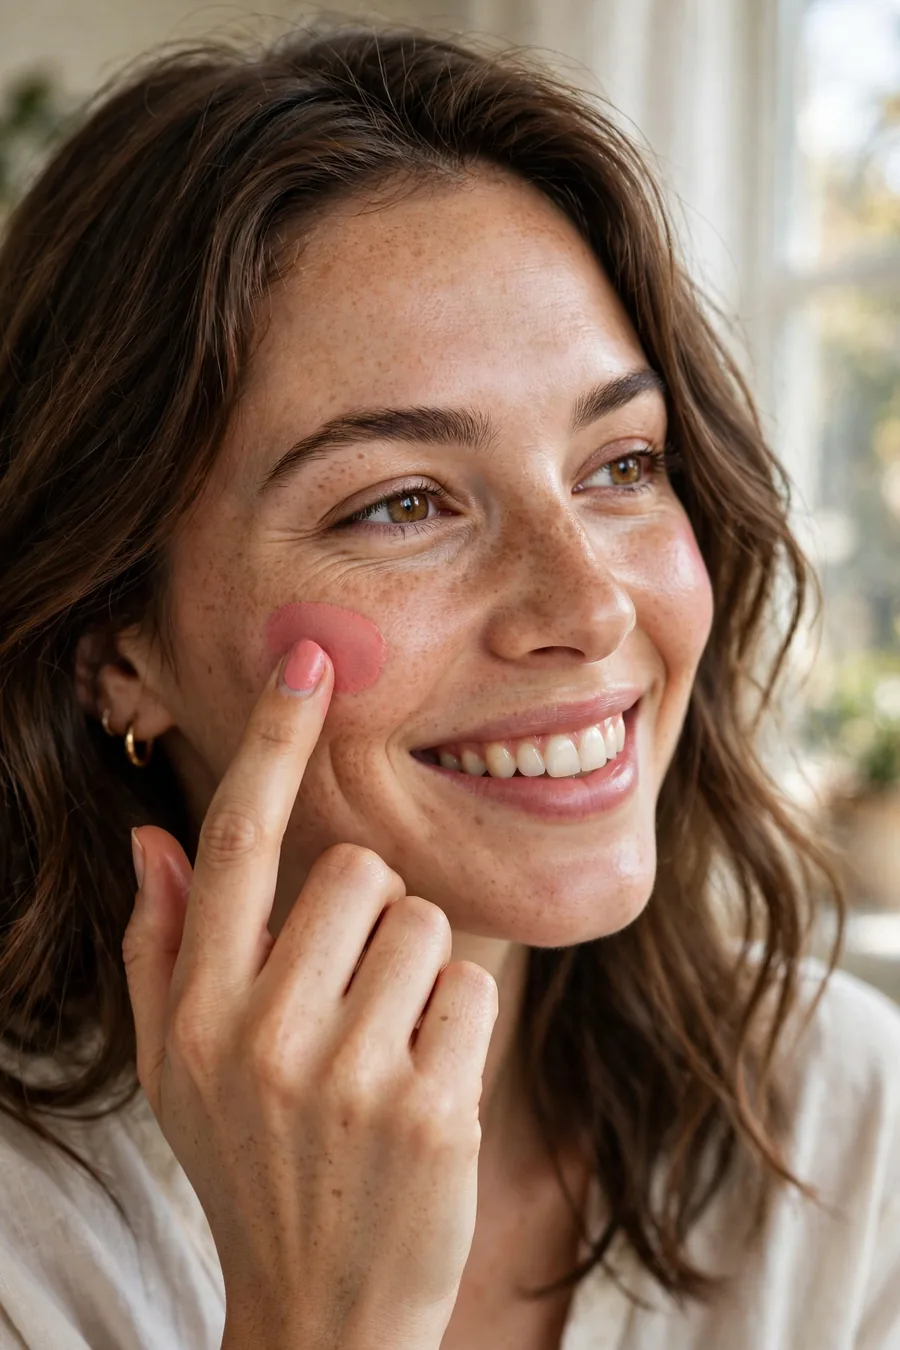
Smile, dab cream blush on the apples of your cheeks with your fingers, and blend upward toward your temples. Choose a warm rose or soft peach that mimics a natural flush. Cream formulas melt into skin and look far more natural than powder. In this natural glam makeup tutorial, blush is what brings your face back to life after evening out your skin tone.
Why it works: Blush adds the color and dimension that base products take away. Without it, even perfect skin looks flat.
Pro tip: Apply blush before you think you need it, then check in daylight. Indoor lighting makes you underestimate how much you have applied.
SHOP THE LOOK: cream blush stick, stippling brush, warm rose blush shade
Step 5: Define Soft, Natural Brows
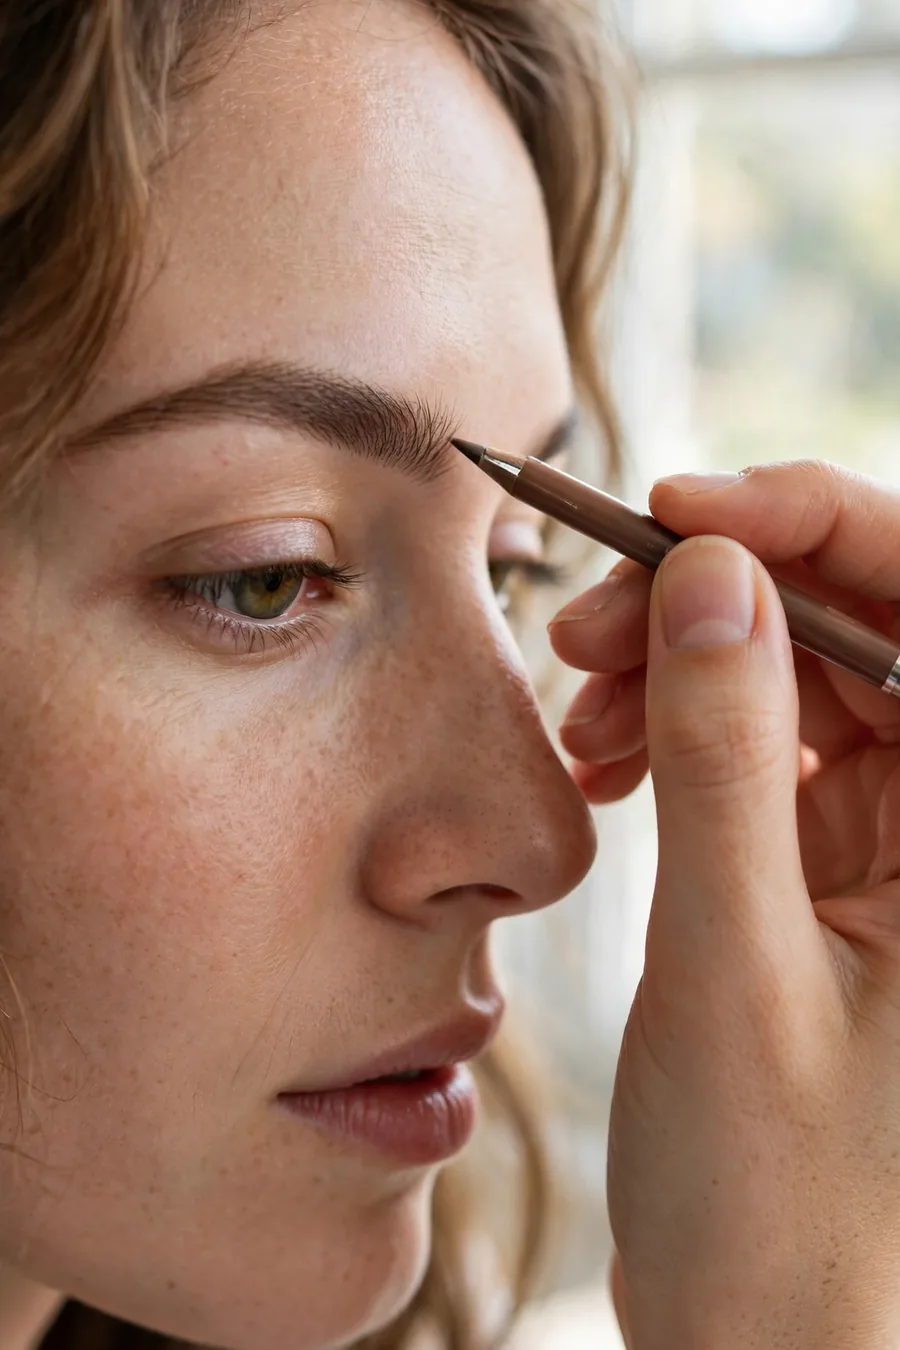
Brush your brow hairs upward with a spoolie, then fill only the sparse spots with light hairlike strokes using a fine pencil one shade lighter than your natural brow color. Finish with a tinted brow gel brushed through to set everything in place. This natural glam makeup tutorial keeps brows soft because harsh brows fight the whole gentle aesthetic.
Why it works: Brows frame your entire face. Soft defined brows make every other step look more polished without drawing attention to themselves.
Pro tip: Step back from the mirror after every few strokes. Brows look different from a normal viewing distance than they do up close.
SHOP THE LOOK: fine brow pencil, tinted brow gel, spoolie brush
Step 6: Blend a Neutral Wash of Eyeshadow
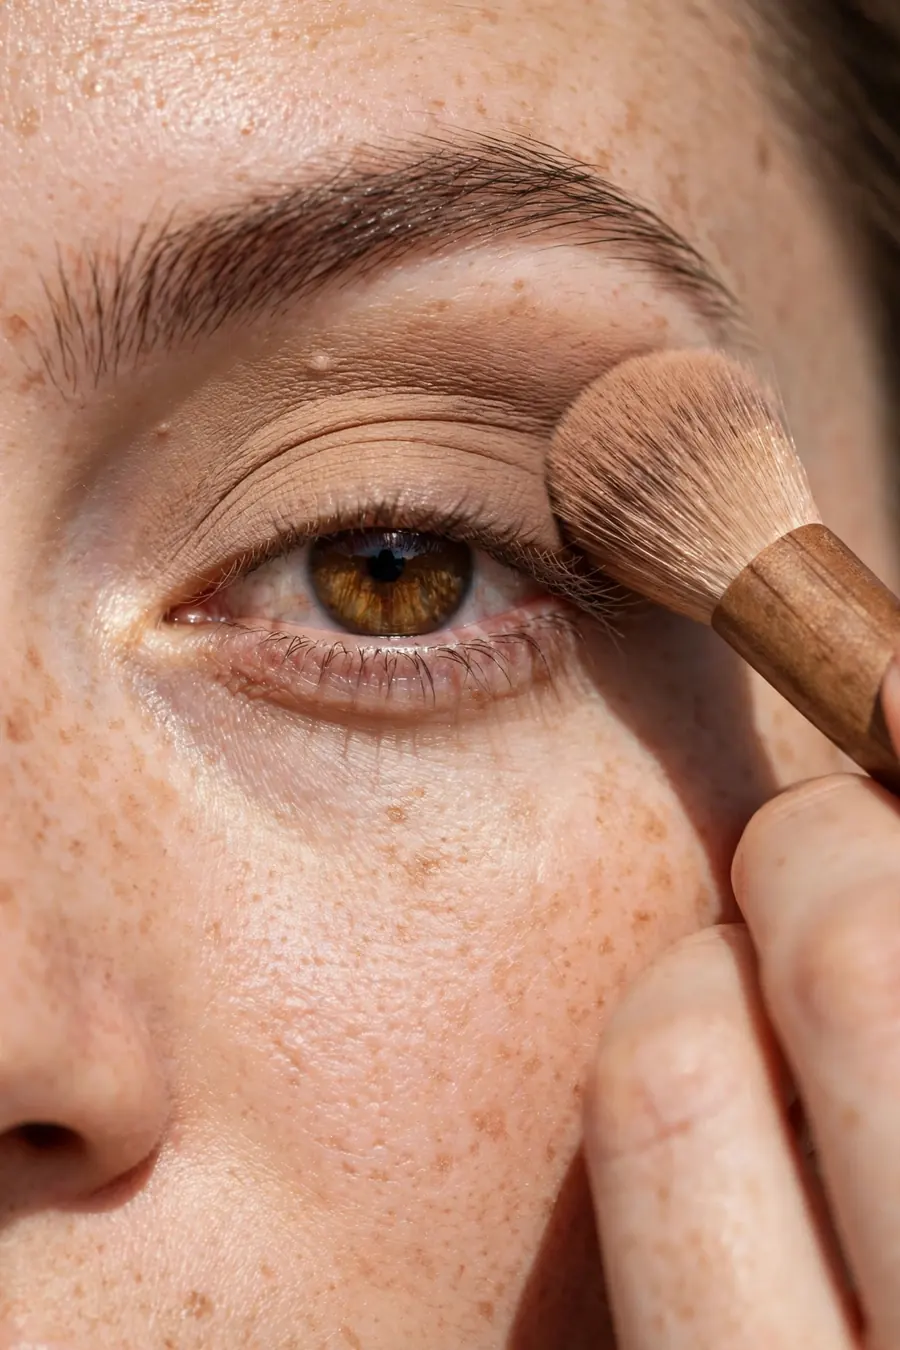
Sweep a matte shade slightly deeper than your skin tone across the entire lid with a fluffy brush, then press a soft shimmer on the center of the lid with your fingertip. Add the tiniest bit of the matte shade along the lower lash line for definition. This simple two shade method from our natural glam makeup tutorial defines the eyes without any complicated technique.
Why it works: One matte shade for shape plus one shimmer for light is all most eyes need. It reads polished in person and photographs beautifully.
Pro tip: If your eyeshadow looks chalky, you used too much. Tap the brush once before touching your lid to knock off excess.
SHOP THE LOOK: warm neutral eyeshadow palette, fluffy blending brush, eye primer
Step 7: Define Lashes with Mascara and Tightline
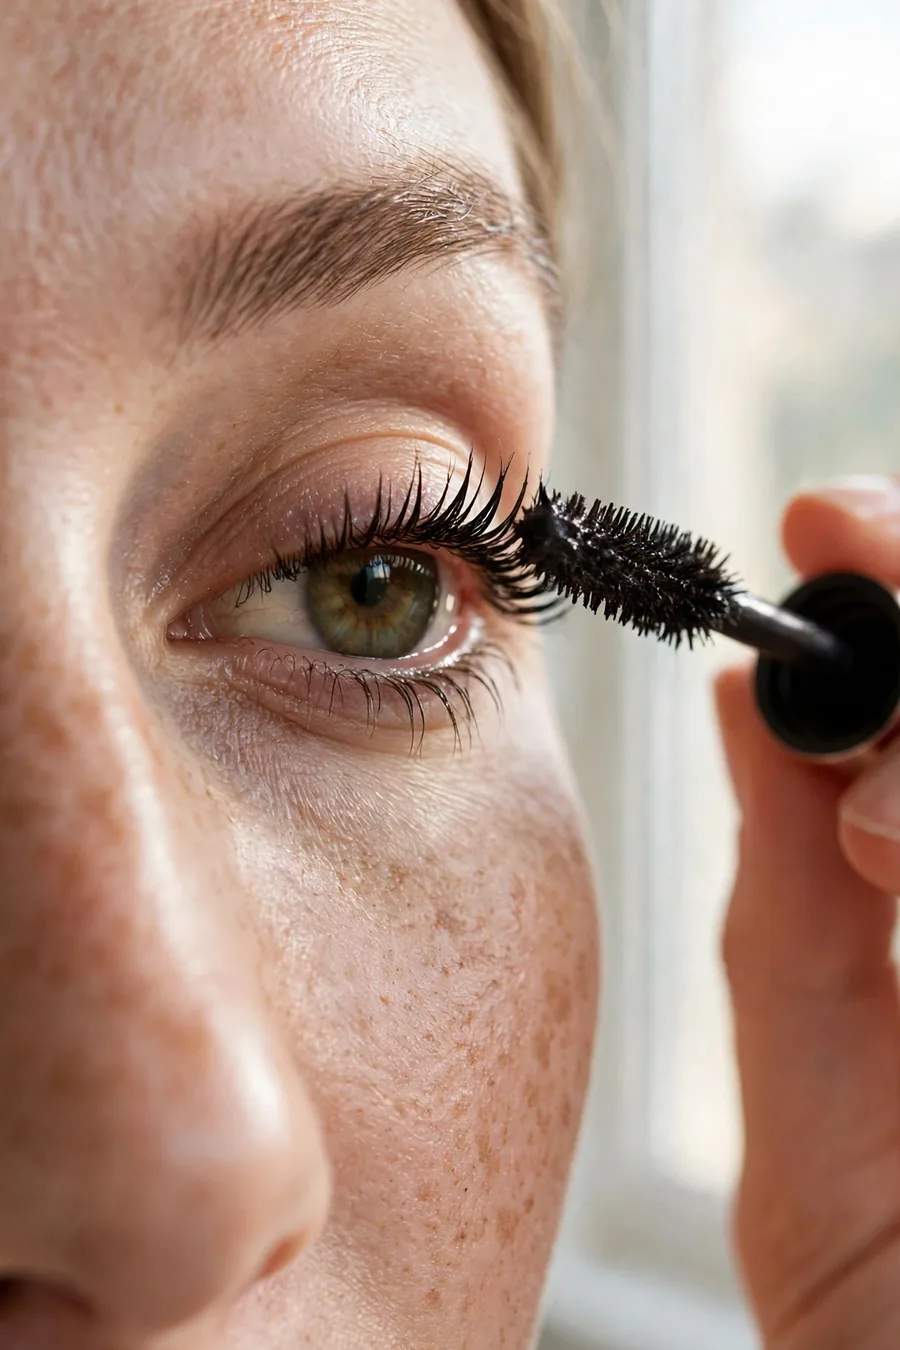
Wiggle a black brown mascara wand at the base of your upper lashes, then pull through to the tips. One coat is enough for daytime natural glam. Then take a dark brown eyeliner pencil and dot it between your upper lashes, right at the lash line. This trick, called tightlining, is the quiet hero of this natural glam makeup tutorial because it defines the eyes with no visible liner.
Why it works: Full looking lashes and a defined lash line make eyes look bigger and more awake, which reads as glam without any drama.
Pro tip: Curl your lashes before mascara, never after. Curling after mascara cracks the formula and can break lashes.
SHOP THE LOOK: black brown mascara, eyelash curler, dark brown eyeliner pencil
Step 8: Finish with Glossy Nude Lips
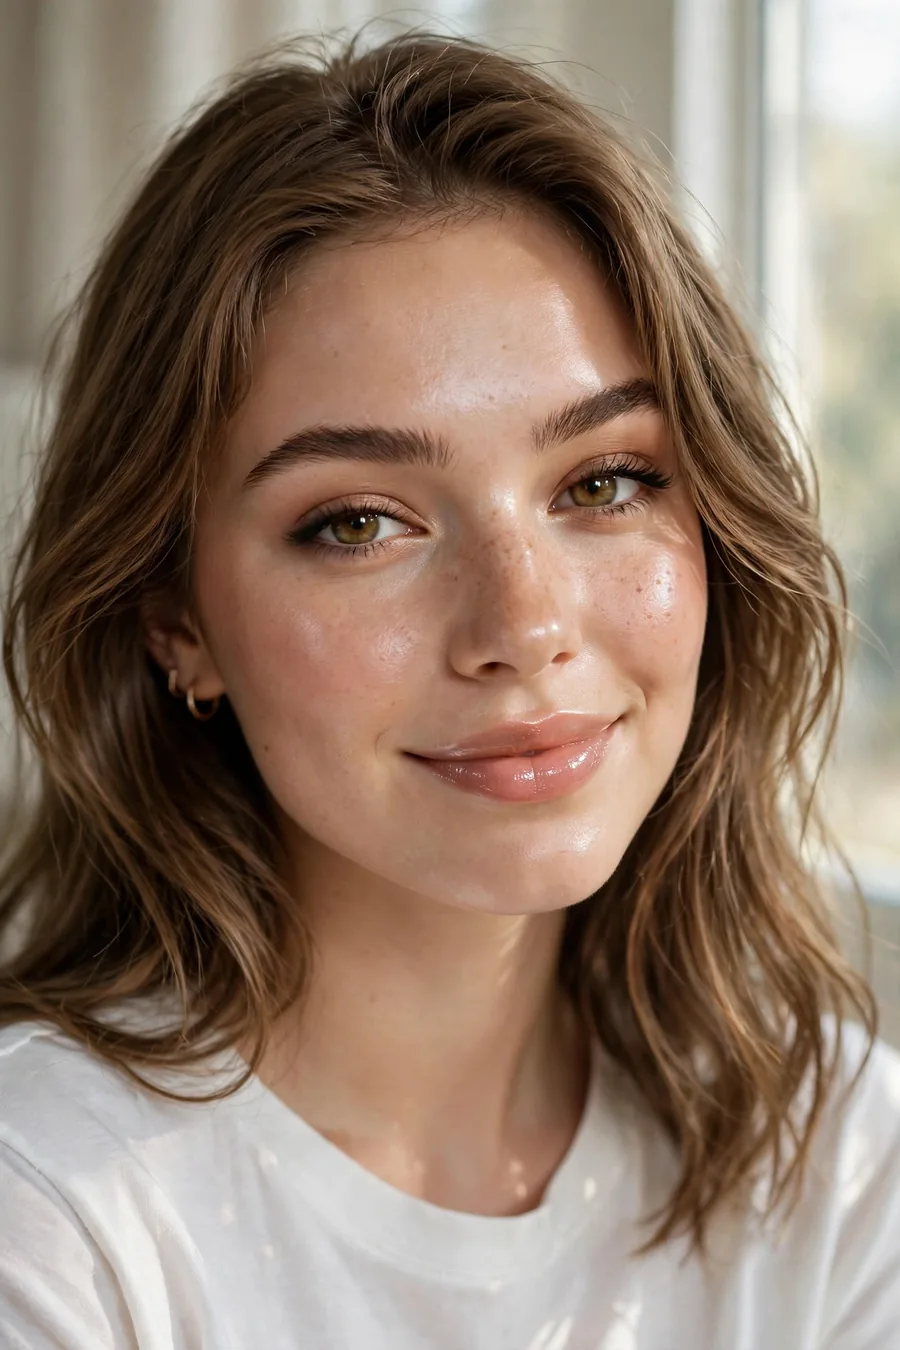
Line your lips just inside your natural lip line with a nude liner close to your lip color, fill in lightly, then top with a hydrating gloss in a shade one step deeper than your bare lips. Blot once on a tissue and add one more thin layer of gloss to the center. This final step of the natural glam makeup tutorial gives you that juicy finished look that ties everything together.
Why it works: Glossy lips catch the light and look youthful. The nude shade keeps the focus balanced across the whole face instead of pulling it all to the mouth.
Pro tip: Exfoliate your lips with a damp washcloth before you start your makeup. Gloss shows every flake, so smooth lips are nonnegotiable.
SHOP THE LOOK: nude lip gloss, nude lip liner, lip scrub
What exactly is natural glam makeup?
Natural glam is polished makeup that still looks like skin. Glowing base, soft defined eyes, fluffy brows, and glossy lips, with nothing harsh or heavy. This natural glam makeup tutorial builds the full look in eight beginner friendly steps.
How long does natural glam take for a beginner?
About twenty to twenty five minutes once you know the steps. The first few times will take longer, and that is completely normal. Speed comes with practice, so do not rush the blending.
What products do I absolutely need for natural glam?
Moisturizer, tinted moisturizer, concealer, cream blush, brow gel, one neutral eyeshadow palette, mascara, and a nude gloss. Check our style guides for budget friendly product roundups before you shop.
Will natural glam work on oily or dry skin?
Yes, with small adjustments. Oily skin should use an oil free moisturizer and set the T zone with powder. Dry skin should layer a rich moisturizer and skip powder entirely except under the eyes.
How do I make natural glam last all day?
Prep well, use thin layers, and set with a setting spray. Blotting papers at midday beat adding more powder every time.
Final Thoughts
Natural glam is a skill, not a talent, which means anyone can learn it. Follow this natural glam makeup tutorial once slowly, then again a little faster, and by the third try it will feel like second nature. Start with the steps you enjoy most and build from there. Your face, your rules.